For firearms enthusiasts and those looking to upgrade their rifle, installing a triangle handguard with a collar can be a rewarding project. Not only does it enhance the rifle’s functionality and performance, but it also gives your firearm a classic and sleek appearance. This guide will walk you through the process of installing a triangle handguard with a collar, ensuring that you achieve a secure and professional fit.
Tools
Before starting, gather the necessary tools and equipment to ensure a smooth installation process. Here’s what you’ll need:
- Triangle handguard with a collar
- Rifle (compatible with the handguard)
- Armorer’s wrench
- Punch set
- Torque wrench
- Flathead screwdriver
- Delta ring tool (optional, but helpful)
- Barrel nut (included with the handguard)
- Gun vise or workbench
Having all these tools ready will help you complete the installation without interruptions.
Preparation
- Ensure Safety: First and foremost, safety is the top priority. Make sure the firearm is unloaded. Double-check the chamber to confirm that there is no ammunition present.
- Disassemble the Rifle: Begin by removing any existing handguard and disassembling the rifle. This may include removing the upper receiver from the lower receiver, depending on the model of your rifle.
- Secure the Rifle: Use a gun vise or set your rifle on a stable workbench to ensure it doesn’t move during the installation process. This will help you work more efficiently and safely.
Collar
The collar is an integral part of the handguard installation process. It serves as the connecting point between the barrel and the handguard, ensuring stability and a snug fit. Here’s how to install it properly:
- Position the Collar: Slide the collar over the barrel. The collar will usually fit snugly, but it should slide into place without much resistance.
- Align the Collar: Make sure the collar is properly aligned with the barrel nut. The alignment is critical for the handguard to fit securely and for the rifle to function correctly.
- Tighten the Collar: Using your armorer’s wrench, tighten the collar in place. It should sit flush against the barrel nut, ensuring a secure fit.
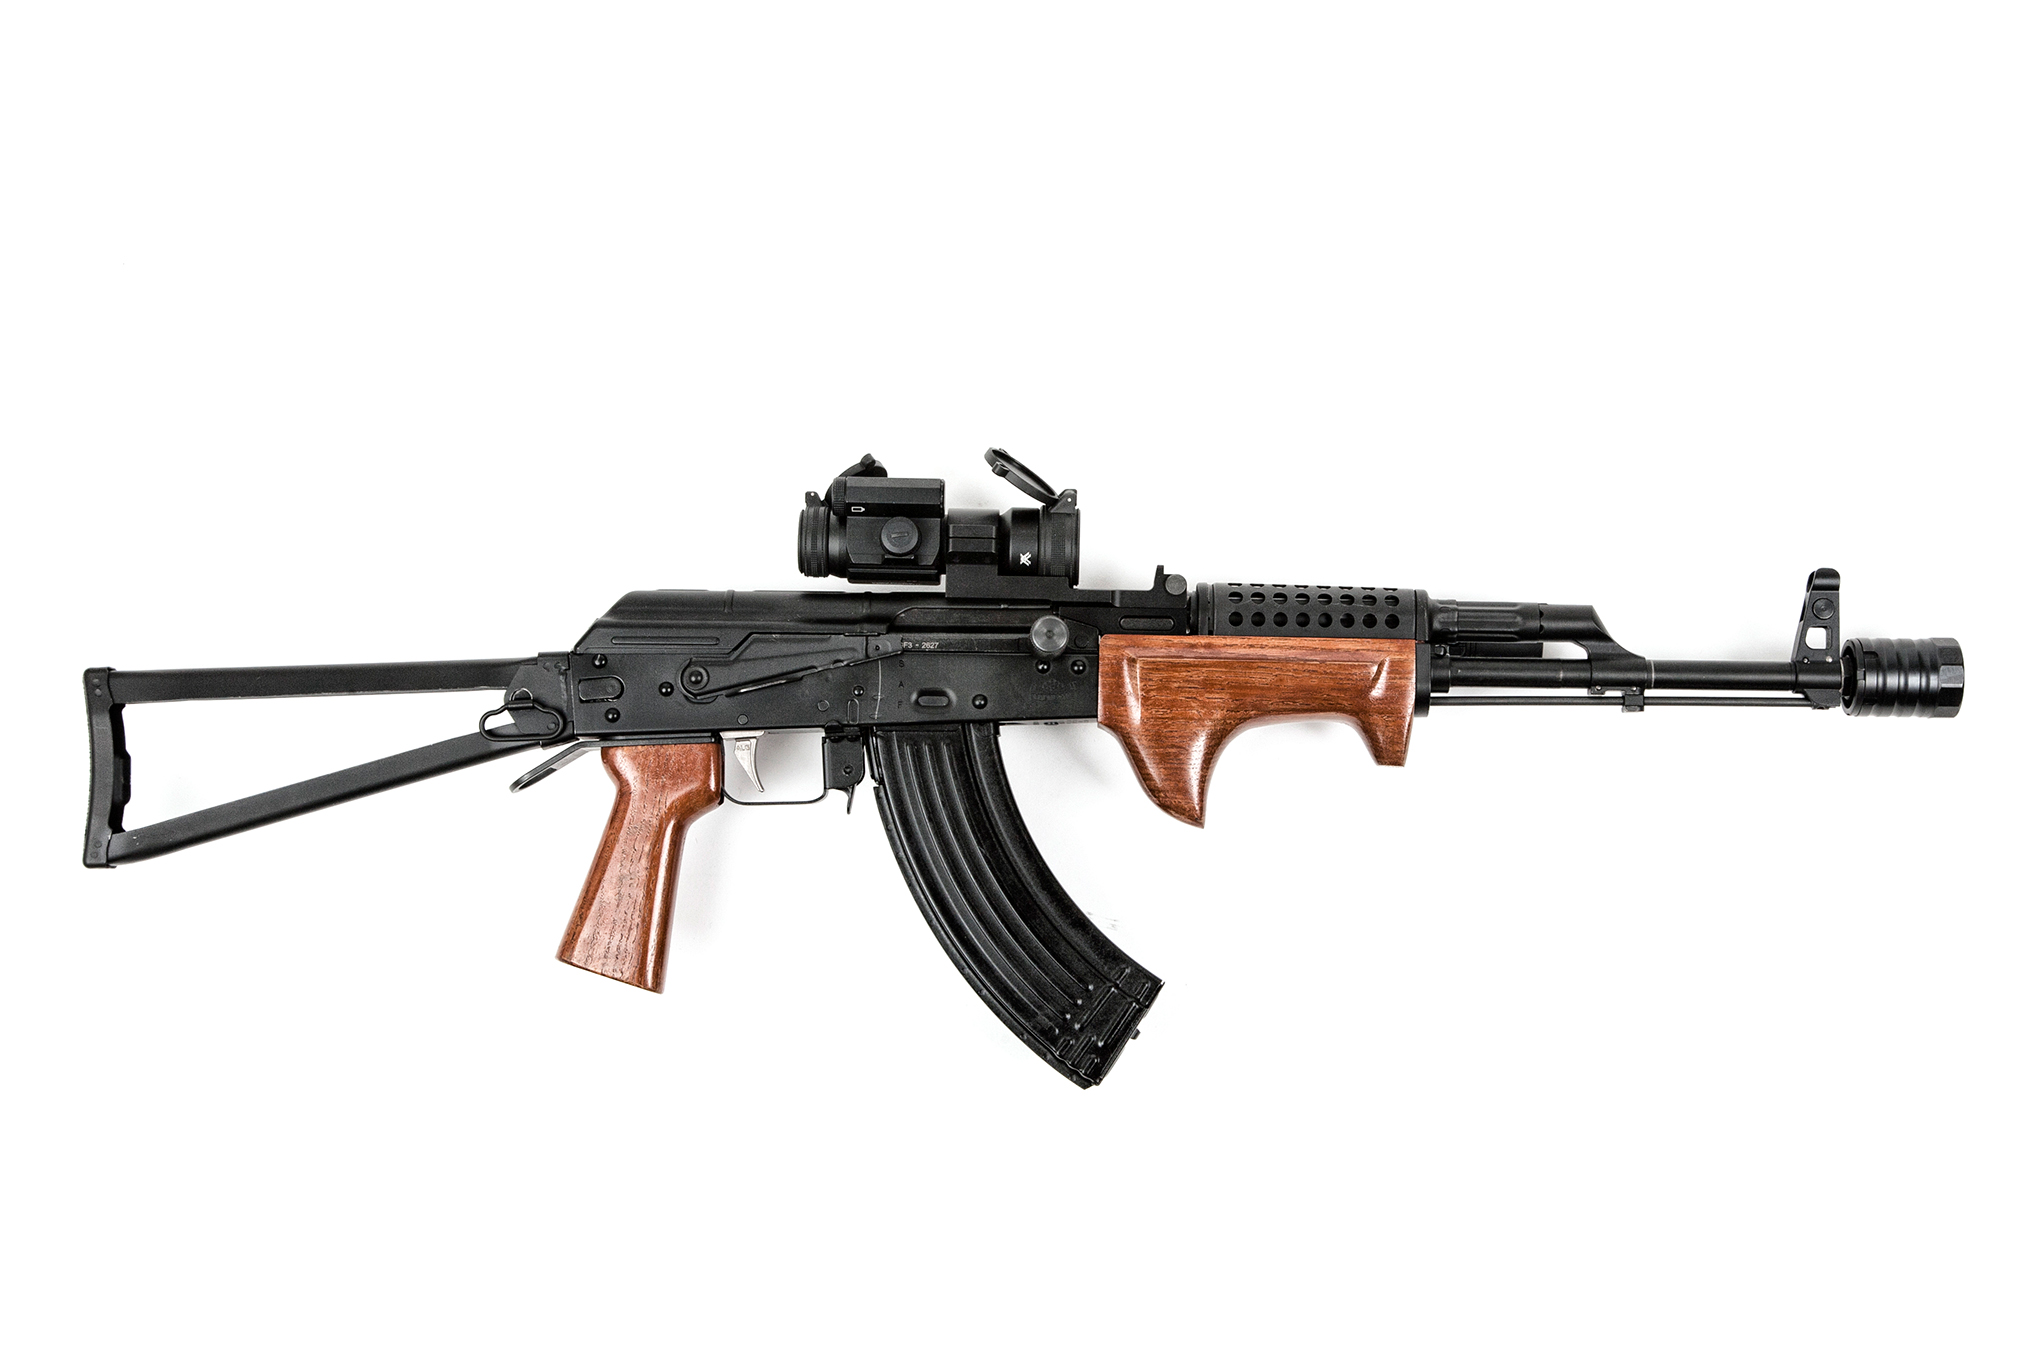
Handguard
Now that the collar is installed, it’s time to attach the triangle handguard.
- Fit the Handguard: Slide the triangle handguard into place. It should fit snugly over the barrel and collar. Ensure that the handguard’s triangle shape is aligned correctly with the rest of the rifle.
- Secure the Handguard: Depending on your specific handguard, you may need to use screws or a locking mechanism to secure it in place. Use the flathead screwdriver to tighten any screws or fasteners that come with your handguard kit.
- Test for Fitment: Once the handguard is in place, give it a gentle shake to ensure there’s no wobble or play. A secure fit is essential for both functionality and safety.
Final Steps
- Reassemble the Rifle: After successfully installing the handguard, it’s time to reassemble the rifle. Attach the upper receiver back to the lower receiver, if necessary.
- Inspect: Perform a thorough inspection of your work. Ensure the handguard is aligned correctly, that all screws are tight, and that there’s no interference with the operation of the rifle.
- Function Test: Once everything is assembled, perform a function test. This involves charging the rifle, testing the trigger pull, and checking the safety. Ensure that the handguard does not interfere with any of these functions.
Benefits of Installing a Triangle Handguard with Collar
Installing a triangle handguard with a collar provides several benefits that go beyond aesthetics. Here are some advantages to consider:
- Enhanced Stability: The collar ensures that the handguard stays in place and provides additional stability to the rifle, improving accuracy.
- Improved Ergonomics: Triangle handguards are designed to offer a better grip, which makes them more comfortable to hold and operate, especially during extended shooting sessions.
- Classic Look: For those who appreciate a vintage or classic aesthetic, the triangle handguard adds a timeless look to the rifle.
- Increased Durability: Most triangle handguards are made from durable materials that can withstand harsh conditions, making them a great upgrade for anyone who regularly uses their rifle in challenging environments.
Troubleshooting
Sometimes, even with the best preparation, you might encounter issues during installation. Here’s how to troubleshoot common problems:
- Handguard Doesn’t Fit Properly: If the handguard isn’t fitting properly, check to ensure the collar and barrel nut are correctly aligned. You may also need to verify that the handguard is the right size for your rifle model.
- Wobbling or Loose Handguard: If the handguard feels loose, double-check that all screws are properly tightened. You may need to use a torque wrench to apply the correct amount of force.
- Difficulty Aligning the Collar: If the collar is giving you trouble during installation, applying a small amount of gun oil or lubricant can help it slide into place more easily.
Maintenance
Once your triangle handguard with collar is installed, proper maintenance is essential for ensuring longevity and performance. Here’s how to maintain your rifle and handguard:
- Regular Cleaning: After every shooting session, make sure to clean the rifle thoroughly. Pay special attention to the handguard, ensuring that no dirt, grime, or debris has accumulated.
- Tighten Screws Periodically: Over time, screws can loosen due to recoil and general use. Periodically check the screws on your handguard to ensure they remain tight.
- Inspect for Wear and Tear: Regularly inspect the handguard and collar for signs of wear, such as scratches, dents, or corrosion. Address any issues promptly to prevent further damage.
Conclusion
Installing a triangle handguard with collar is a practical and aesthetic upgrade for your rifle, offering enhanced stability, improved ergonomics, and a classic look. By following this step-by-step guide, you’ll ensure a secure and professional installation. Whether you’re a seasoned firearms enthusiast or new to rifle customization, this upgrade will undoubtedly improve both the function and appearance of your firearm.